Barley Twist
The origins of the ‘Barley twist’ date back into the earliest chronicles of recorded history. The decoration is characterized by the spiral column shape, and has been used in a vast assortment of decorative applications.
Legendary buildings such as the Temple of Solomon in Jerusalem, which is thought to have been destroyed more than 500 years BC, is described as being adorned by spiral ‘Solomonic columns’. History also reveals evidence that the decoration can found on the architecture of ancient Greek and Roman civilizations.
In the late 17th century, the spiral forms became a popular feature in furniture, particularly as legs and column decorations in English, French and Dutch pieces. The decoration also became known as “barley sugar twists” due to its similarity with the candy sweet of this era.
It was most commonly carved from Oak, but fine examples can also be found in walnut depending on the period from which the piece originated.
In pic 1 you can see examples of how the decoration has been used to embellish chairs.
In the interest of upholding tradition, I have chosen to carve my Barley Twist from Oak, however, the decoration can be crafted from any species.
In pic 2 & 3, you will see how a long ‘rolling pin’ has been turned on a lathe. The diameter and length of the decoration is entirely your choice. I have turned the example pictured in pic 3. to a diameter of 40 mm. The overall length, measured from the centre of each cove at either side of the ‘rolling pin’ is 225 mm. An important consideration is that the diameter of the cove, on either end of the turning, is half the diameter of the main cylinder. Therefore the coved areas have a 20 mm diameter.

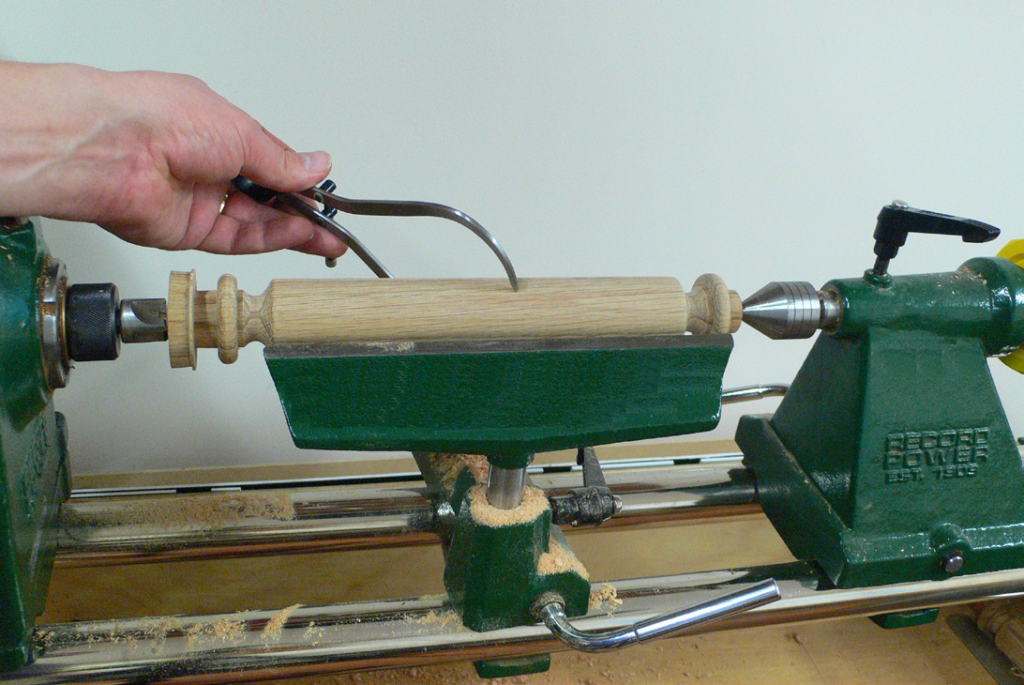
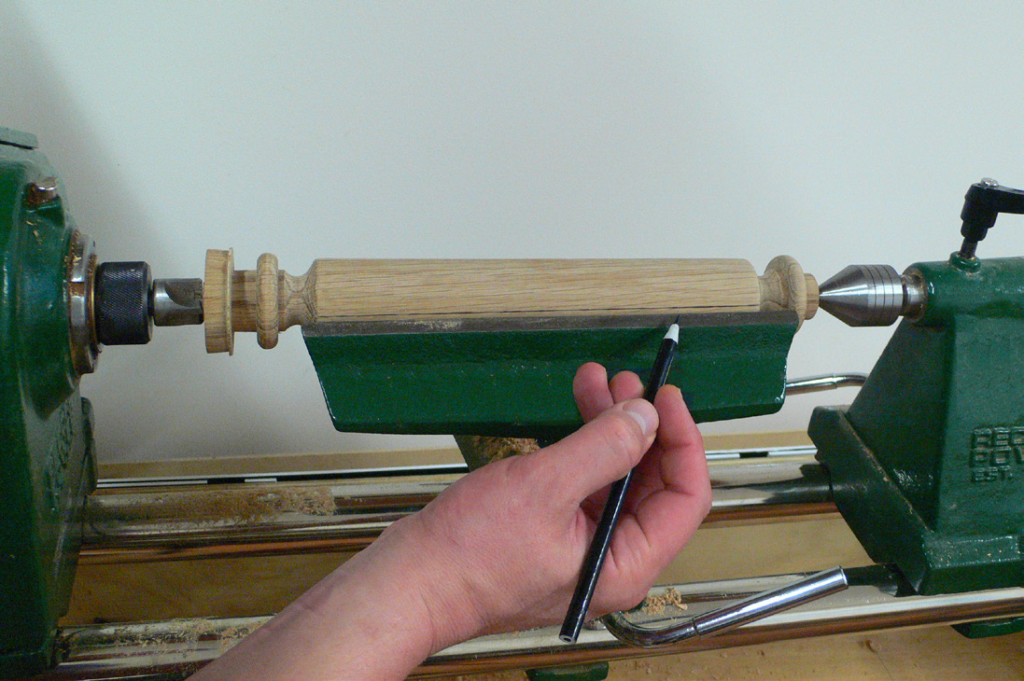
Use your tool rest to draw a line that runs down the centre of the cylinder. Then draw a second line on the opposite side so that it divides the cylinder into two equal halves. Pic 4
With a pair of dividers mark equal divisions from the centre of the cove down the length of the line. The objective is to ensure that the final division is made precisely in the centre of the opposite cove. Pic 5
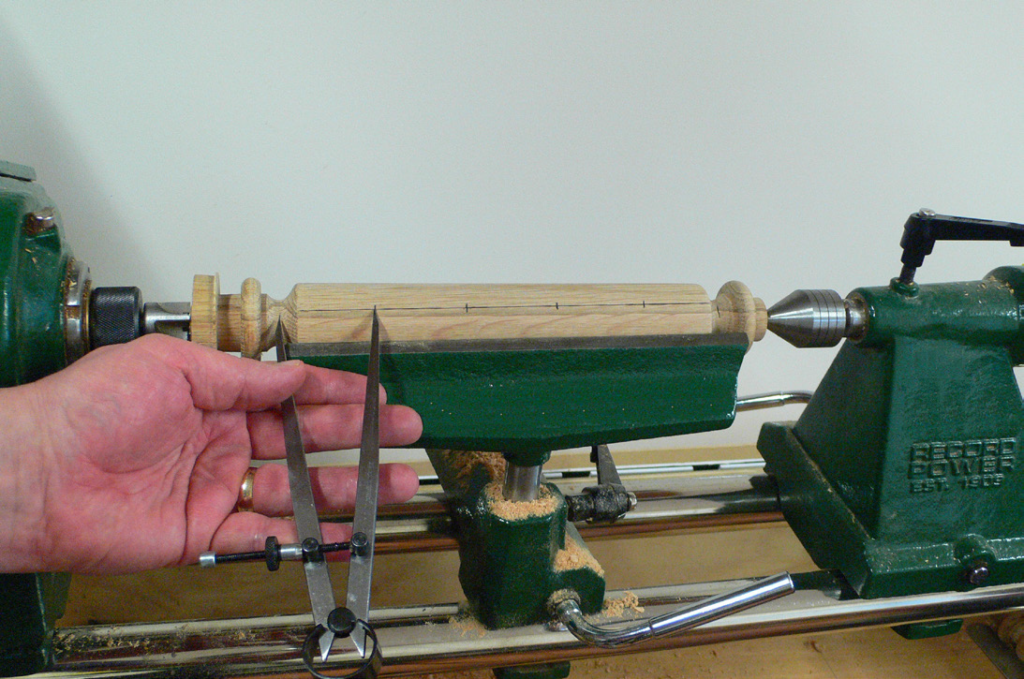
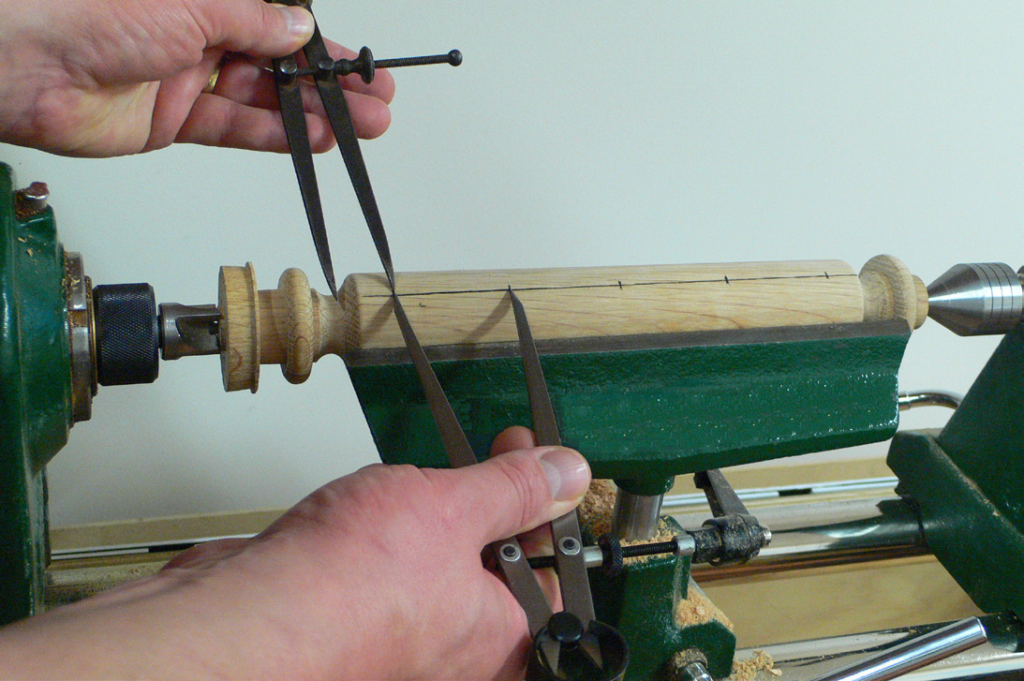
On the reverse side of the cylinder complete the same process, but this time start and end with a half division. Pic 6.
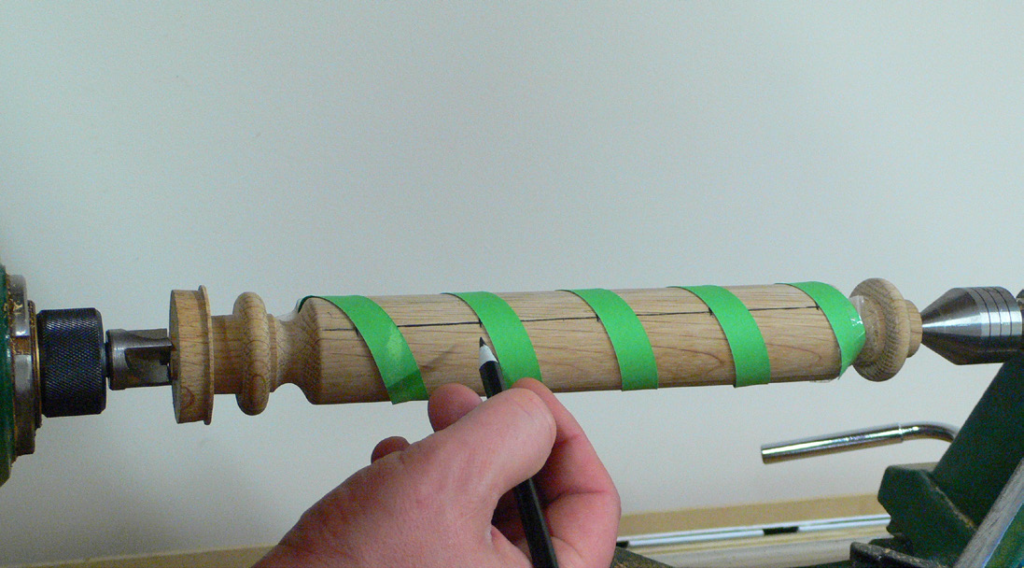
Our next step is to mark the spiral. Cut a thin strip of card with parallel edges and wrap the card around the cylinder so that the top edge of the card makes contact with each division mark. You can then tape the ends to hold the card in place. Follow the line of the card template with a pencil to mark a perfectly equal spiral that runs the full length of the cylinder. Pic 7
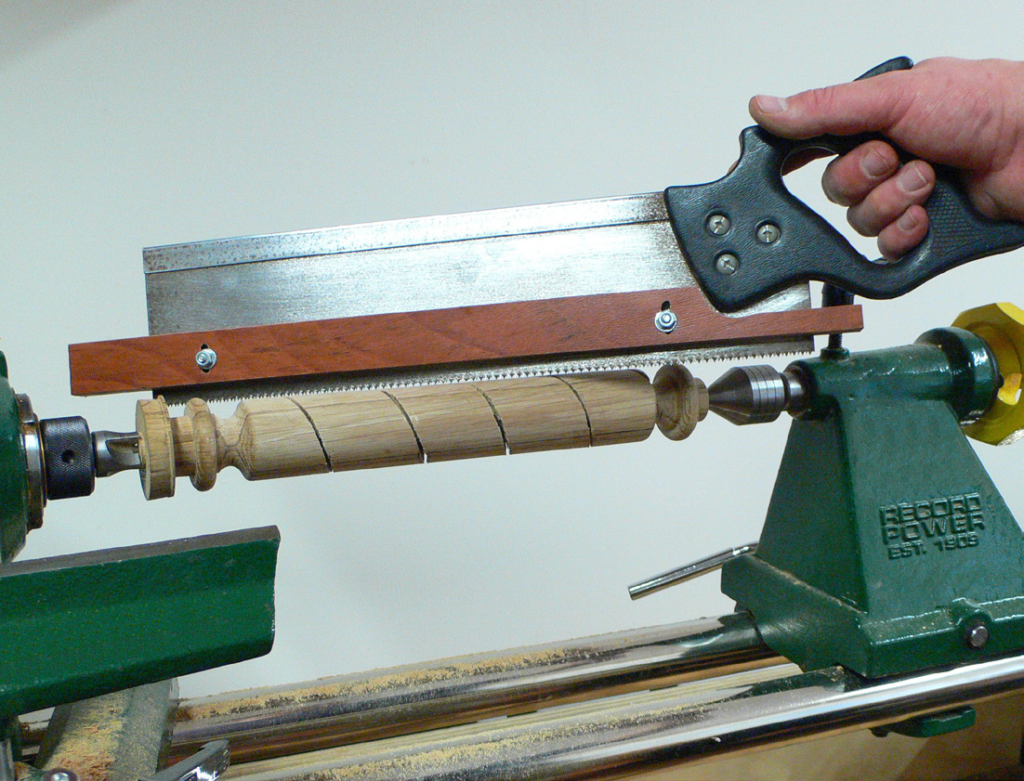
In pic 8 you can see how an old tennon saw has been fitted with two lengths of timber on either side of the blade. This acts as a depth stop to help establish a consistent depth to the spiral. The depth should be the same as the coves at the end of the cylinder. The cylinder has a 40 mm diameter, the coves are turned with half of that diameter, i.e. 20 mm diameter, therefore the depth of the coves will be 10 mm.
A cylindrical micro plane or rasp will be required for the next process. Pic 9. The tool that I am using has a diameter of 15 mm. Follow the spiral with the micro-plane ensuring that the saw cut remains in the centre of the channel. Try to work as accurately as you can, being vigilant to maintain equal divisions on the surface of the cylinder. You can see the desired effect in the completed piece in pic 9. Note how the ends of the spiral finish where they leads into the cove. This will illustrate the importance of maintaining a consistent depth in the valley of the spiral so that it flows nicely into the coved area.
In terms of holding your work securely, you can either continue with the work secured in your lathe, or alternatively you can secure the work with a sash clamp. The bar of the sash clamp can be held in your vice, or If you have a T-bar sash then the head can be fixed to your workbench using screws and the bar section secured with a G clamp.
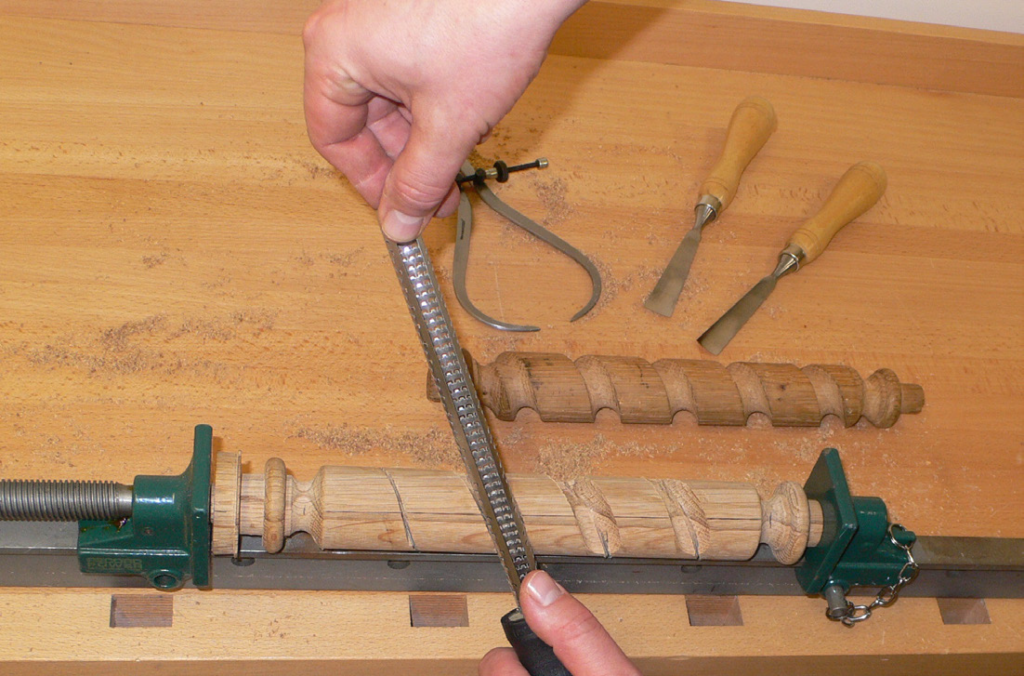
With tool refs #5, 6 and 11 you can begin to round over the edges of the divisions. The goal is to create a consistant profile to each spiral. In pic 10 you can see how tool ref #6 is held in the ‘fist position’ and the hand holding the tool is anchored to the workpiece to ensure control at all times.
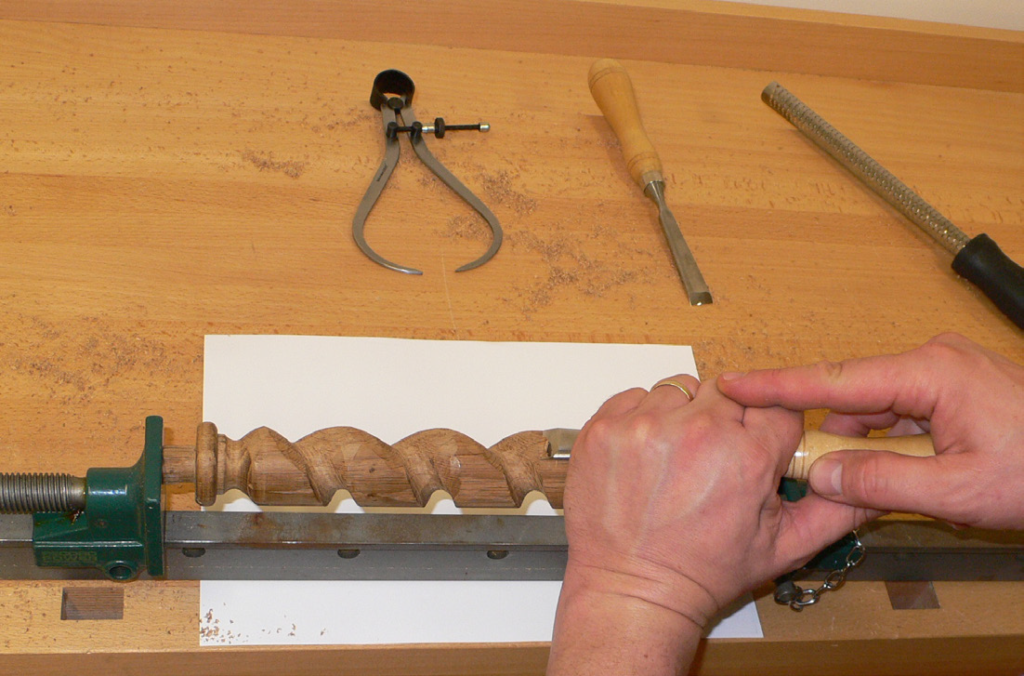
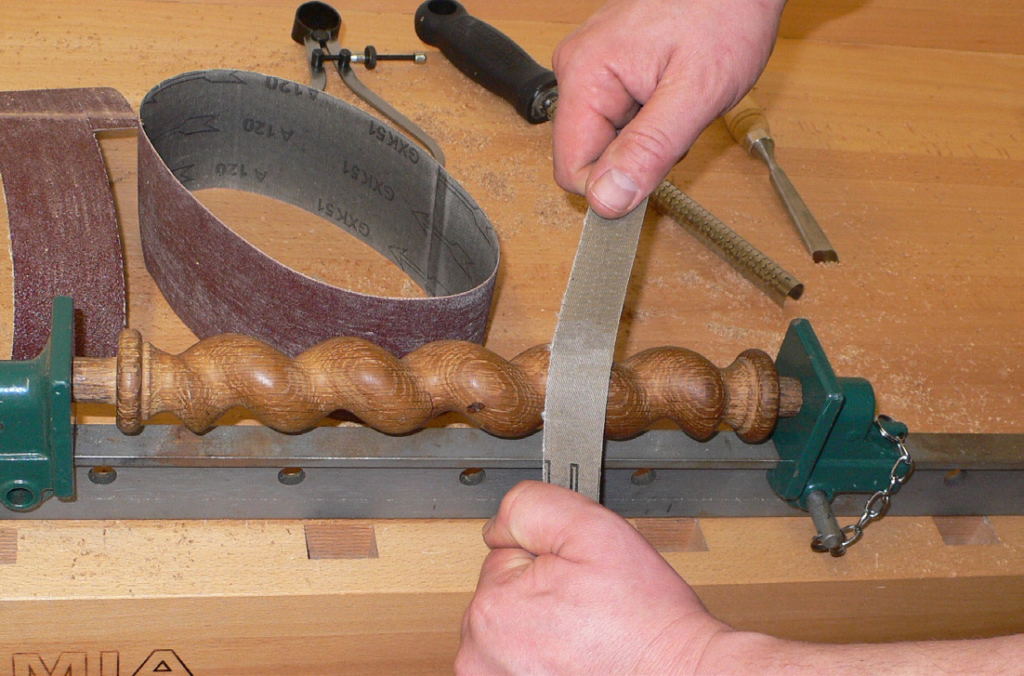
The majortity of your shaping work should be completed with the carving tools. A handy tip for cleaning up is to use the sandpaper from a belt sander, which has been cut into long strips. You can use the belts in various grades to perfect the shape of the spiral and achieve a blemish free finish. Pic 11
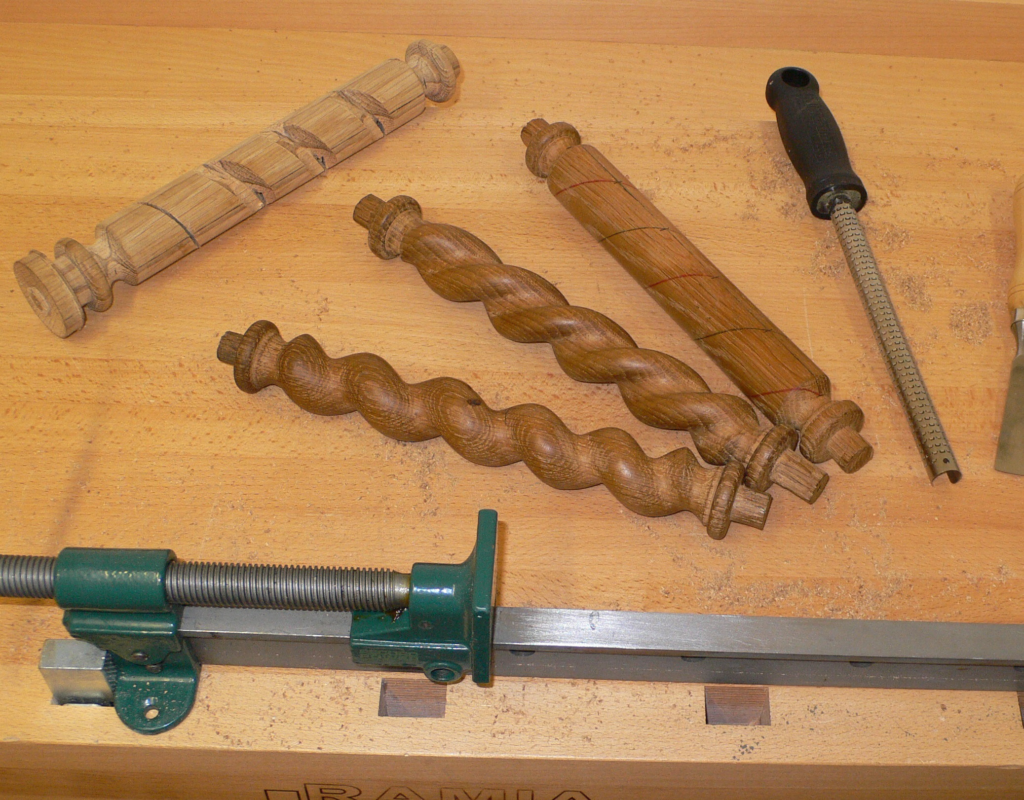
In pic 12 you can see how the barley twist in the centre of the picture has a slightly different appearance. This example has two spirals running along its length. See how the turned cylinder blank has been marked with a red line and a black line running around the length of the cylinder simultaneously. To add greater interest, you could pierce the double spiral with a long hole borer on your lathe, which separates the two spirals from each other.
You could also try experimenting with a tapered barley-twist, which has a wider base and becomes thinner towards the opposite end.
Tool Selection
All projects in this series of education can be completed with this numbered set of carving tool profiles. Please refer to tool selection tab for further information. Click on photo below to view tool selection.

